

Grill Control has changed backyard barbecuing forever. Whether you smoke slow or sear hot, smart controllers promise hands-off precision and fewer burnt meals. But does the tech live up to the hype, and what do you really need to know before you buy?
Key Takeaways
- Grill control devices automate temperature, save monitoring, and target “set it and forget it” grilling—yet not all systems are equal in reliability or features.
- Upfront costs start at $150 but can soar above $300; installation quirks and app connectivity snags are common pain points that are rarely mentioned in marketing.
- Security and compatibility with less-common brands, DIY options, and open-source firmware are all overlooked risks and opportunities in this category.
- What Is Grill Control? Why Use It?
- How to Add Grill Control: Step-by-Step
- Advanced Analysis & Common Pitfalls
- Conclusion
- FAQ
What Is Grill Control? Why Use It?
Grill control refers to electronic temperature regulators—often using a fan and WiFi or Bluetooth module—that keep your charcoal or wood grill at a precise, set temperature with minimal guesswork. You simply tell the device what temp you want, and it adds or restricts airflow accordingly, often updating you via a phone app. This automation leads to more consistent slow cooking, fewer flare-ups, and the convenience of attending to guests or relaxing while your grill operates nearly on autopilot.
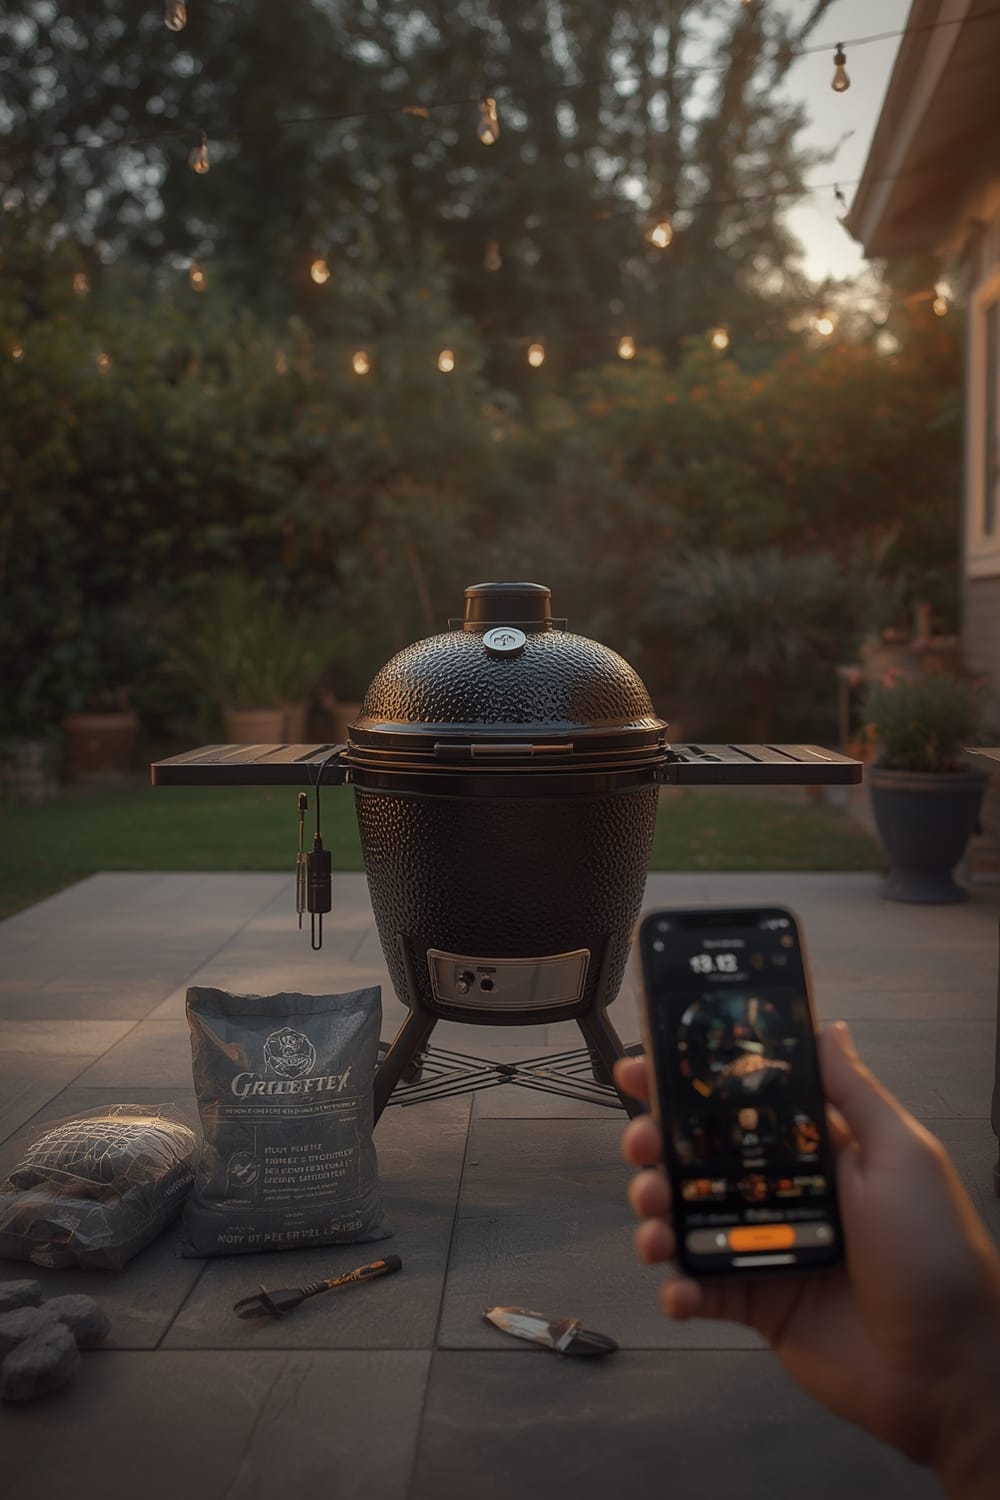
Global demand is surging. The barbecue temperature controller market reached $150 million in 2024, projected to double by 2033. Enthusiasts appreciate how smart controllers promise near-perfect briskets or ribs without constant lid-lifting, making these devices particularly popular for low-and-slow cooks on charcoal smokers and kamado grills.
Still, grill control tech isn’t one-size-fits-all. Not every device works with your grill out of the box, not every app is user-friendly, and few reviewers talk honestly about WiFi dropouts or security holes. We’ll dissect those details below.
How to Add Grill Control: Step-by-Step
Installing smart grill control hardware isn’t always plug-and-play. Here’s the process—along with the practical realities and a few shortcuts that can actually make your weeknight cooks easier.
- Check Compatibility: Review the grill control manufacturer’s compatibility lists. Models like the Flame Boss or BBQ Guru have standard adapters for popular kamados (Kamado Joe, Big Green Egg, Weber Smokey Mountain), but offset and barrel smokers may require modifications.
- Install Mount/Adapter: Attach the air intake adapter to your grill. This may involve clamping, screwing, or sealing gaps with included gaskets or fireproof tape. If you have a rare or off-brand grill, you may have to rig a fit—be gentle, as air leaks ruin control accuracy.
- Mount the Fan & Controller: The fan secures to the adapter, blowing air into the charcoal chamber. The controller unit sits nearby (often magnetically attached or set on a stand), connecting with temp probes.
- Insert Probes & Connect App: Place temperature probes into the grill and, optionally, your food. Link your phone to the controller via WiFi or Bluetooth. Configure alerts, target temps, and any smart routines.
- Power Up & Monitor: Most controllers run off AC; some support battery packs for tailgates. Start with a low or mid-range temp, check that the system responds to changes, and monitor your first cook closely. Expect a learning curve if you’re switching from manual vents.
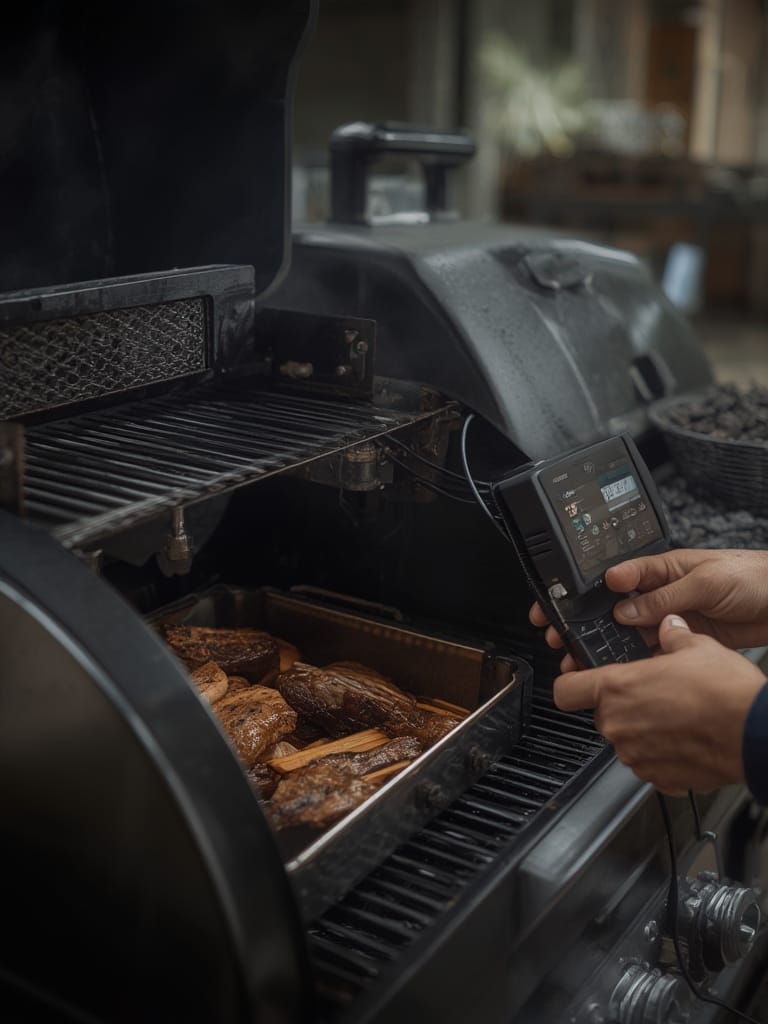
It’s wise to scan for real-world tips in enthusiast forums—often the only sources for hacks such as using weatherproof boxes for your controller, or rigging extra-long probe wires to reach awkward smoker builds. If you’re upgrading your whole outdoor setup, don’t miss our deep dive into Matter compatible devices for seamless integration, or explore why predictive home automation is shaping the next generation of smart grilling environments.
Advanced Analysis & Common Pitfalls
While smart grill control is designed for convenience, it isn’t free of frustration. Here’s what most buyers and reviewers fail to mention:
- Upfront vs. Ongoing Costs: Expect to pay $150–$300 for premium grill controllers, with some advanced pro models, like the BBQ Guru, costing more. Accessories (extra probes, adapters, fans) are usually not included; long-term wear and tear is inevitable.
- Connectivity Limitations: Most systems use 2.4GHz WiFi or Bluetooth. Signal drops and app sync issues are frequently discussed in user forums, but seldom covered in industry overviews.
- Platform Lock-in: Few systems are compatible with all grills. DIY modifications, open-source firmware, or integration with less common brands are rarely supported (though they are trending in enthusiast circles). If versatility is a priority—or you want to automate alongside smart ovens or AI cooking appliances—double-check protocols before buying.
- Security Risks: Surprisingly, there’s no formal documentation of cyber threats specific to grill controllers, even though they connect to home WiFi. This mirrors IoT blindspots reported for air fryers, air fryers with app control, or aquarium monitors. If security is critical for your smart home, consider firewalled guest networks for these devices.
- No Independent Precision Studies: While most manufacturers claim optimal temperature control (±1–5°F in premium units), there are no published head-to-head studies on food quality or fuel consumption improvements versus manual control.
| Device/Brand | Key Differentiators | Price Range |
|---|---|---|
| Flame Boss | WiFi/Bluetooth monitoring, app integration | $150–$300+ |
| BBQ Guru, PitmasterIQ | Advanced temperature control for pros | Above $300 |
| FireBoard, ThermoWorks | IoT integration, mobile alerts | $150–$300+ |
Data sourced from Verified Market Reports and Mordor Intelligence.
If you’re concerned about other aspects of your connected home, explore how trends like wind sensor awning control, geofencing garage doors, or integrated smart home energy dashboards are shaping IoT categories with more mainstream security and compatibility discussions.
Conclusion
Grill control technology brings home consistent barbecue, more freedom during cooking, and some exciting remote-monitoring magic—but buyer beware. Costs are more than sticker prices, true compatibility is hit-or-miss, and long-term support can be iffy unless you buy from the largest brands. Most importantly, no major study yet proves that smart control makes food taste better or saves significant fuel compared to the old manual method. Still, if the convenience and geek factor appeal, a smart grill control system is a fun, practical upgrade—just know the whole picture before clicking “buy.”
Ready to take your grilling experience to the next level? Compare devices, check your grill’s compatibility, and don’t hesitate to explore DIY or open-source options to unlock truly custom barbecue control.
FAQ
Are grill control devices worth the investment?
For regular grillers who want set-it-and-forget-it consistency, they’re often worth it. For occasional cooks, the upfront cost and learning curve may outweigh the benefits.
Can I use smart grill control on any charcoal grill?
Not always. Most controllers require a specific adapter, and some uncommon or old-model grills may need mods. Always check compatibility before purchase.
Are there any security concerns with WiFi grill controllers?
Most brands don’t publicize security features. Because they connect to your home WiFi, they may pose the same basic risks as other IoT devices; use guest networks and keep firmware updated if possible.
What hidden costs should I expect?
Extra probes, replacement fans, and specialty mounting kits are almost never included. Over a few seasons, ongoing costs may add up to $50–$100 or more.
Can I build a DIY grill controller?
Yes. With some electronics skills, you can use platforms like Arduino or Raspberry Pi with temp sensors and a computer fan for a custom, hackable system. Support is DIY level, so expect more tinkering.