

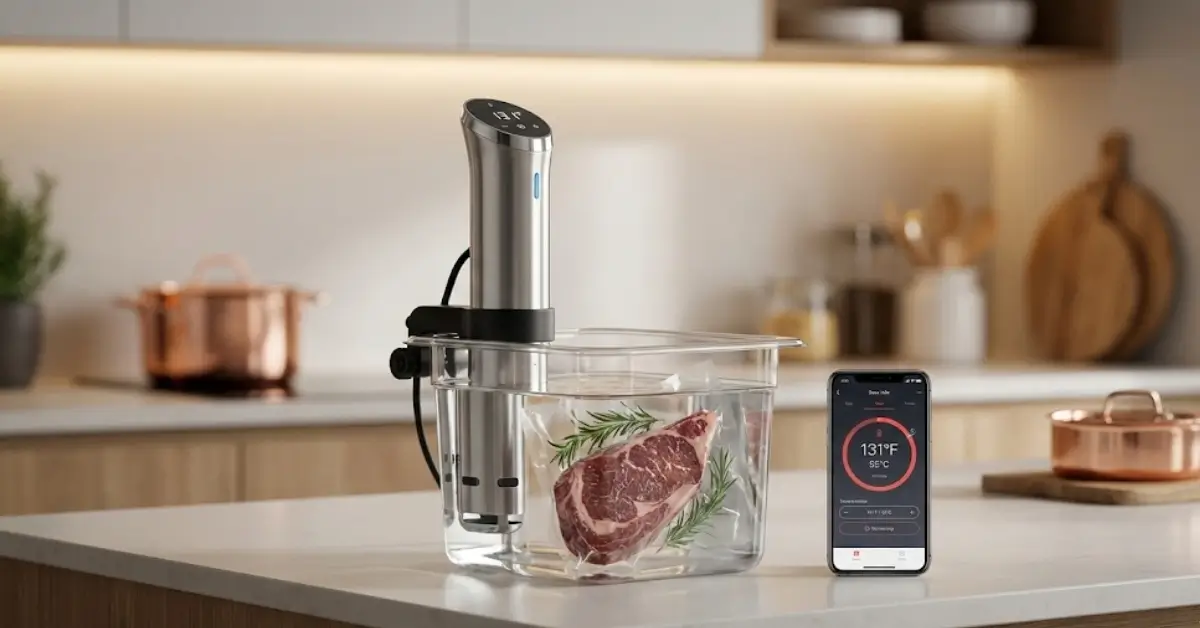
Sous Vide is rapidly transforming home kitchens, letting anyone prepare restaurant-quality meals with precision. But do smart, Wi-Fi-enabled smart sous vide sticks really deliver better results, or are they just another overhyped gadget?
Key Takeaways
- Smart sous vide devices with Wi-Fi and app control are seeing double-digit market growth and genuine home adoption worldwide.
- Exact specs and user experience can vary—setup and performance details are rarely covered in depth.
- Achieving true restaurant-quality outcomes demands careful attention to bag sealing, water temperature, and doneness—not just pressing “start” in an app.
- The Core Concept: What Makes Sous Vide Smart?
- Step-by-Step Guide: Using Smart Sous Vide Devices at Home
- Advanced Analysis & Common Pitfalls
- Conclusion
- FAQ
The Core Concept: What Makes Sous Vide Smart?
Sous vide is a cooking technique that uses precise, low-temperature water baths to cook sealed food evenly and gently. Smart sous vide devices improve this process by introducing features like Wi-Fi connectivity, app-controlled temperature regulation, and programmable recipes. These advancements aim to provide better repeatability, hands-off convenience, and creative flexibility for home chefs.
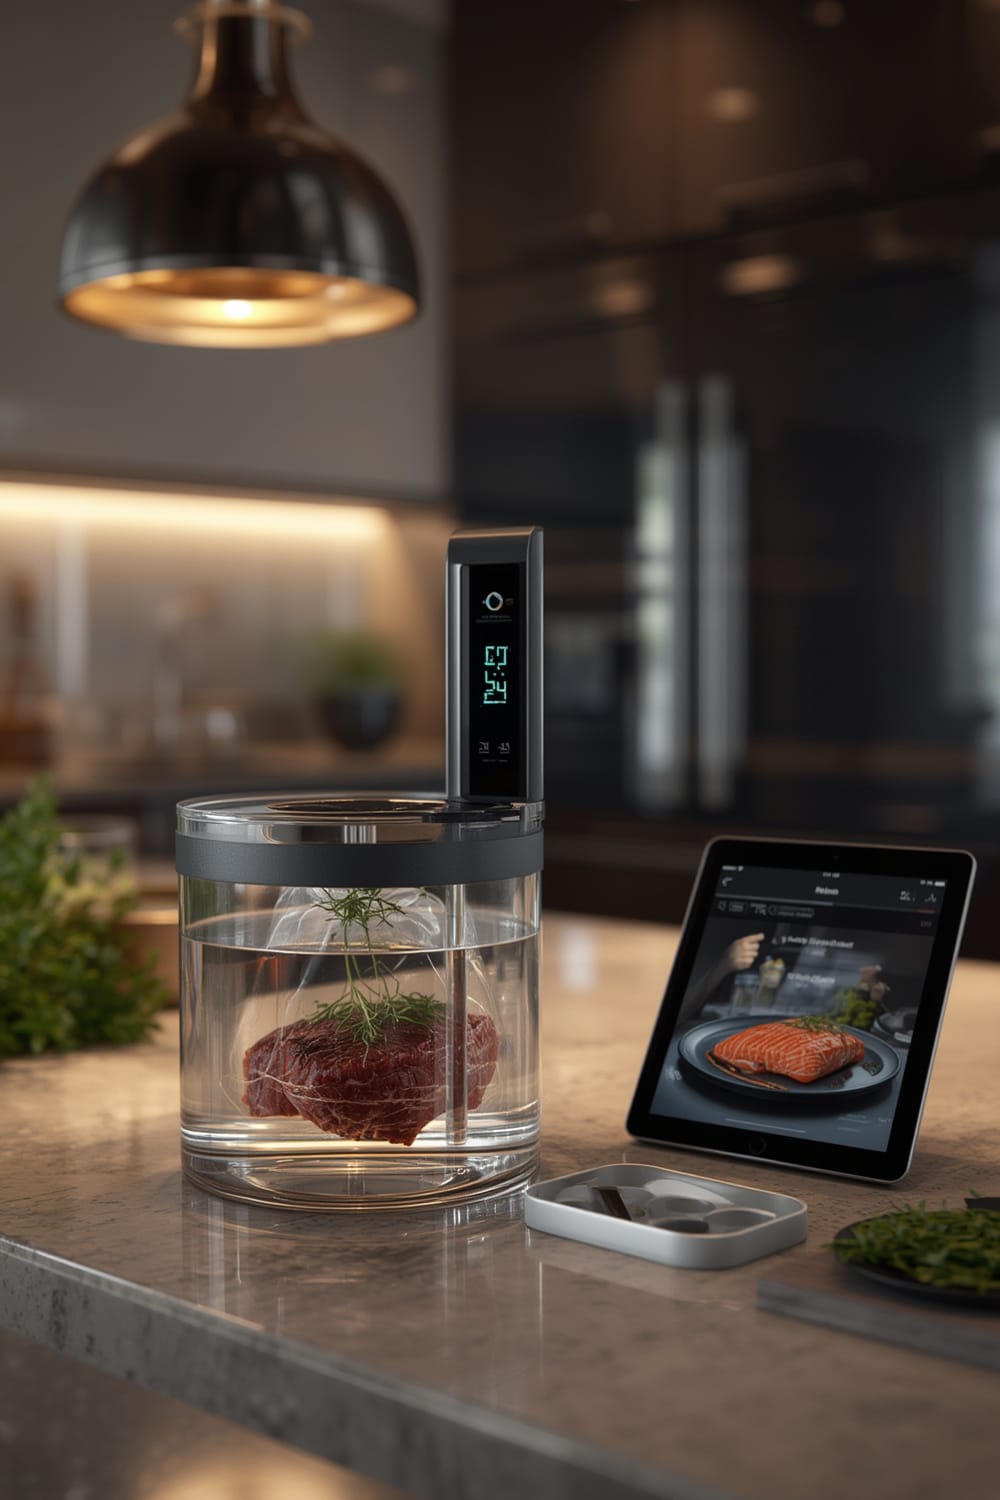
With market growth estimated upwards of 18% annually (source), demand for app-enabled models has exploded, especially among tech-savvy home cooks looking for a foolproof way to nail dishes like steak, chicken, or even eggs. Unlike traditional stovetop or oven methods, a sous vide stick immersed in a water bath keeps temperatures steady, preventing overcooking and helping proteins retain moisture.
Smart sous vide sticks typically connect to your phone via Wi-Fi or Bluetooth, allowing remote monitoring, push alerts, and access to guided recipes. For some users, this turns a potentially intimidating method into a simple, hands-off experience. Precise automation isn’t new to smart kitchens—just look at the voice activated coffee machines that sync with your morning alarm for another example of appliance convenience.
Step-by-Step Guide: Using Smart Sous Vide Devices at Home
Successfully using a smart sous vide starts with choosing the right device for your needs. Here’s a step-by-step breakdown for setting up an app-controlled Wi-Fi sous vide stick, based on current 2024 models:
- Unbox and Inspect: Carefully unpack your sous vide circulator and check all included parts, such as mounting clamps and power cords.
- Download the App: Install the manufacturer’s companion app on your phone. Leading brands like Anova or Joule provide detailed in-app guides. Make sure your phone supports the app—some apps require recent iOS or Android versions and a stable Wi-Fi connection.
- Clamp and Fill: Attach the sous vide stick to a large pot or heat-safe container, then fill with water. Ensure water stays above the device’s minimum fill line for even heating.
- Connect to Wi-Fi: Follow the device instructions to pair your stick with your home Wi-Fi. Enter your credentials in the app and confirm connectivity. If you run into snags, check your router’s compatibility settings or try a 2.4 GHz network, as many sous vide devices don’t support 5 GHz bands.
- Seal Food Properly: Place your seasoned protein or vegetables in sous vide-safe bags. Use a vacuum sealer or, at minimum, the water displacement method. Proper sealing is the key to truly even doneness. (Tip: Check out smart blinds integration for totally hands-off sun control while cooking.)
- Set Temperature and Time: Use the app’s recipe presets or dial in custom settings based on your dish. Advanced apps allow push notifications when the bath reaches the target temperature or when the cook is complete.
- Monitor Remotely: Smart apps enable remote monitoring, so you don’t have to hover in the kitchen. While you wait, you can manage other devices like a smart fridge for ingredient reminders or a smart coffee maker to prep dessert drinks.
- Final Sear (Optional): For meats, finish with a quick pan sear for color and texture. Many home cooks use a cast iron pan or even a culinary torch for maximum effect.
If you face app connectivity issues, reset the device and try pairing again. Sometimes, power cycling your router or updating the manufacturer app can resolve stubborn pairing problems.
Advanced Analysis & Common Pitfalls
With adoption growing and the market surpassing $1.2 billion in 2024 (source), new users still encounter issues that even top competitor guides often overlook. Here’s a realistic breakdown of where things can go wrong—and what sets premium devices apart from entry-level sticks:
| Issue | Entry-Level vs. Premium | Workarounds |
|---|---|---|
| App Crashes or Glitches | Premium models (avg $500) tend to have more stable, frequently updated apps. Entry models may lack support. | Check for app updates. Consider using manual controls if the app fails mid-cook. |
| Wi-Fi Connection Drops | Many sticks work only with 2.4 GHz Wi-Fi. Entry-level devices can lose connection, stopping timers or notifications. | Place your router closer, reduce interference, or use offline controls as backup. |
| Unreliable Temperature Control | Premium units boast +/-0.1°C accuracy; cheap models can be off by 1-2°C, affecting results. | Double-check with a separate thermometer if you need absolute precision. |
| Noise and Wear | Entry units may have louder pumps and shorter lifespans. | If silence is critical, check user reviews or opt for better-engineered brands. |
| Safety: Water Spills | Most sticks have minimum/maximum water lines, but cheaper models can be less forgiving if water evaporates. | Check periodically, especially for long cooks—or invest in models with water sensors. |
Another commonly missed nuance is ingredient safety. Always use food-safe bags and never cook below recommended pasteurization temps for meats and eggs. Even with advanced tech, the “operator” makes or breaks the dish. If you’re trying to automate other areas, like setting up device triggers for your programmable smart buttons or managing home security with a face ID door lock, always check compatibility, just like you would for sous vide devices.
Price is another sticking point: professional units average $500, driven by more reliable Wi-Fi, energy efficiency, and batch cooking capacity (source). Entry-level sticks can be less than half that, but expect fewer features and pared-back build quality.
If you need to automate more of your kitchen, integrating sous vide with smart platforms is possible, but not every stick will work with Apple HomeKit, Alexa, or Google Home. Many users are now demanding universal smart home standards—see the latest on the benefits of Matter protocol—to streamline this process.
Conclusion
Smart sous vide devices bring professional-level precision to home cooking, with Wi-Fi connectivity and app control enabling hands-off, repeatable results—even for busy families. Investment in the right model and attention to smart setup can drastically improve your results, but shortcuts and bargain sticks may leave you shortchanged. Tackle sous vide with realistic expectations and attention to the details above for restaurant-level meals, every time. To master sous vide at home, pick your device carefully, learn your app, and focus on the fundamentals—not the hype. Ready to up your kitchen game? Start with a smart sous vide and discover what’s possible.
FAQ
Do smart sous vide sticks work with any pot?
Most smart sous vide sticks are designed to clamp to any large, heatproof stockpot or specialized sous vide container. Just make sure your chosen vessel meets the device’s minimum and maximum water depth requirements.
Is Wi-Fi really necessary for sous vide at home?
No, but Wi-Fi lets you monitor cooking remotely, get notifications, and use guided recipes, making precise cooking more convenient. If you often multitask, app control is handy but not essential.
Can I use Ziploc bags instead of vacuum sealing?
Yes, as long as the bags are designed for boiling or sous vide temperatures and you use the water displacement method to expel air. For longer or higher-temp cooks, a good vacuum seal is safer and yields better texture.
How do I troubleshoot sous vide app connection issues?
First, confirm your device is on a 2.4 GHz Wi-Fi network and your app is up to date. Power cycle both the sous vide stick and your router, then try pairing again according to the device instructions.
What’s the best entry-level smart sous vide for beginners?
Popular options like Anova Nano or Inkbird offer reliable performance at a reasonable price. Look for a model with a user-friendly app, strong customer support, and water sensors for added safety.