

Radon Detector use is on the rise as homeowners aim to protect their families from hidden health risks lurking indoors. Whether you live in a newly built home or a century-old house, understanding how radon enters your living space—and taking action with detection—could make a lifesaving difference.
Key Takeaways
- Radon exposure is a top cause of lung cancer deaths in homes worldwide; regular testing is your first line of defense.
- Continuous radon monitors provide faster, more actionable data than traditional test kits—leading to quicker remediation.
- Homeowners should be aware of device placement, result interpretation, and ongoing maintenance to ensure accurate readings.
- What Is a Radon Detector and Why Does It Matter?
- How To Use a Radon Detector: Step-by-Step
- Advanced Analysis & Common Pitfalls
- Conclusion
- FAQ
What Is a Radon Detector and Why Does It Matter?
Radon is a radioactive, invisible gas that occurs naturally in soil and rocks. It seeps into homes through cracks in foundations and floors. Exposure to elevated radon levels causes thousands of lung cancer deaths yearly, even among non-smokers. According to a 2021 global analysis, there were 82,160 radon-related lung cancer deaths worldwide—a 66.87% jump since 1990, with the largest increases in East and South Asia. The U.S. sees an estimated 21,000 radon-induced lung cancer deaths each year. The World Health Organization reports that 10–20% of global lung cancer cases stem from residential radon exposure (source).
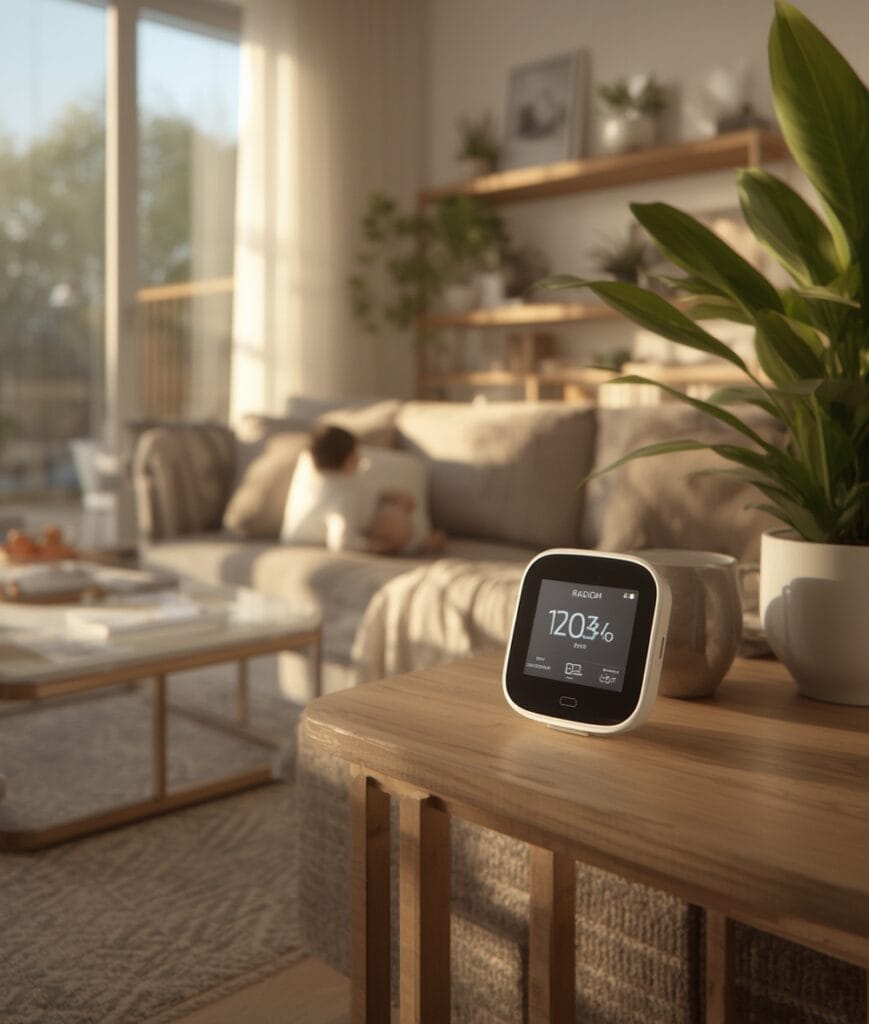
Radon detectors measure indoor radon gas concentrations in real time or over a fixed period. These devices empower you to assess your risk and take concrete steps—like mitigation systems—to lower radon exposure. Using a radon detector is especially important if you live in high-risk areas (for example, parts of Ohio, where up to 52% of homes test high). Regular monitoring offers peace of mind, similar to how an occupancy or presence sensor keeps tabs on home activity for safety.
How To Use a Radon Detector: Step-by-Step
Using a radon detector doesn’t require a degree in nuclear science. Here’s a realistic walkthrough:
- Pick Your Device: Decide between a short-term test kit (days to months) or a continuous radon monitor (real-time data). Continuous devices are the new trend—think of their convenience like a wifi-enabled aquarium monitor for air quality.
- Choose the Right Location: Place the detector in the lowest livable area of your home. Avoid high humidity and places near walls, vents, or windows for the most accurate results.
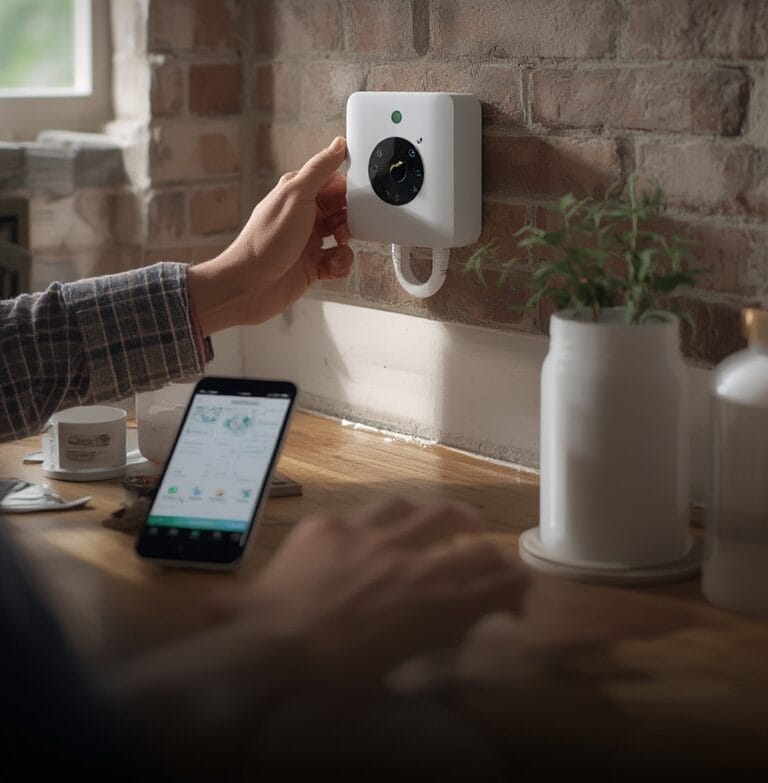
- Set Up & Start Testing: For digital/continuous monitors, plug in the device and connect to any required app or hub. For passive test kits, follow the specific activation instructions. Allow for at least 48 hours of undisturbed monitoring for short-term kits or as recommended by the manufacturer for continuous devices.
- Interpret the Results: Most continuous devices give digital readings in becquerels per cubic meter (Bq/m³) or picocuries per liter (pCi/L). For passive kits, mail the test for lab analysis and review results when returned.
- Take Action If Needed: If results exceed the EPA or WHO threshold (200 Bq/m³ or 4 pCi/L), contact a certified mitigation professional.

Maintenance Tips:
- Regularly dust or vacuum around the device to keep its sensor functioning well.
- Replace batteries every 6–12 months, or as notified by your device’s app or alert system.
- Verify readings after storms, home renovations, or major HVAC changes—these factors can alter radon ingress like sudden changes in aquarium water quality (pool chemical monitoring analogy).
If you’re opting for a continuous monitor, periodic sensor recalibration might be advised by the manufacturer. Always refer to the user manual for details, just as you would for setting up a wifi blood pressure monitor.
Advanced Analysis & Common Pitfalls
Even the best radon detectors are not foolproof. Awareness of critical limitations and common mistakes will keep your readings trustworthy and actionable. Here are the big concerns:
- Poor Placement: Devices near doors, windows, or heating vents can produce artificially low readings.
- Ignoring Seasonal Variations: Testing only in summer may miss dangerous winter spikes in radon levels.
- Skimping on Calibration: Especially with older or budget models, lack of calibration results in long-term drift and inaccurate numbers. Manufacturers may not clearly disclose this need, so review manuals as critically as you would when selecting a biometric lock or other security devices.
- One-and-Done Testing: Radon can fluctuate due to ground moisture, home repairs, or weather. One test is not enough; periodic checks are crucial.
- False Sense of Security: Even “safe” readings at one point in time can change. Don’t use a single low result to justify avoiding future tests or remediation.
| Aspect | Traditional Test Kit | Continuous Radon Monitor |
|---|---|---|
| Testing Period | 2–90 days | Real-time (continuous monitoring) |
| Result Speed | 1–2 weeks (after mailing sample) | Instant, app-enabled |
| Ease of Use | Manual setup, needs mailing | Simple setup, digital readout |
| Best For | One-time screening, low tech needs | Ongoing monitoring, automation |
| Calibration & Maintenance | None | May need calibration and upkeep |
| Cost | Low, $15–$40 | Higher, $120–$250 |
What actually works? Studies confirm that lowering radon at home through testing and mitigation directly reduces your risk of lung cancer, with a 16% risk increase for every additional 100 Bq/m³ indoors (source).
Smart radon detectors alone do not prevent cancer, but they make it much more likely you’ll spot a problem early—and take action. This is a similar logic to using a quiet automation sensor: passive, continuous data leads to more timely interventions.

Conclusion
Radon is an invisible but very real threat, linked to thousands of lung cancer deaths from residential exposure every year. Installing and correctly using a radon detector is one of the simplest ways to protect your household—especially if you live in a known risk area or spend much time in a basement or ground-level space.
Regularly maintaining your monitoring device, understanding the limits of “one-and-done” testing, and acting quickly if you see high numbers is critical for safety. You can even leverage modern home automation—using integrations as seamless as a Matter protocol smart home—to keep tabs on indoor air health. If you haven’t tested recently, invest in a radon detector—and be proactive.
FAQ
How often should I retest my home with a radon detector?
It’s best to test at least once every two years, or after major renovations, new HVAC installations, or significant ground disturbance near your home. If you’re using a continuous monitor, review results monthly and after seasonal changes.
Are continuous radon monitors better than test kits?
Continuous monitors give real-time results and let you spot spikes immediately. Test kits are cheaper and good for quick screening, but they only offer a snapshot in time. For ongoing safety, a continuous radon monitor is a better investment.
Where is the best placement for a radon detector?
Place the detector in the lowest level where you spend significant time, such as a basement or ground-floor room. Avoid placing near doors, windows, vents, or moisture-heavy areas like bathrooms or kitchens.
Do smart radon detectors really help prevent lung cancer?
While the detector itself doesn’t prevent cancer directly, it empowers you to identify high radon levels promptly. Prompt action—mitigation or increased ventilation—directly reduces your long-term lung cancer risk.
Can I integrate a radon detector with my other smart home devices?
Yes! Many modern detectors can send alerts to your smartphone or trigger smart home automation, such as starting air purifiers or fans when high readings are detected. Matter-compatible devices make this process even smoother.